How to Macro in Fisch? Official Method 2025
Macro in fisch

I know doing the same move again and again in a Fisch game gets boring fast. So, learning how to macro in Fisch can save you a lot of time. Macros let you record your mouse and keyboard actions, and then replay them with just one button. It is like teaching your computer to do the boring stuff for you.

In this guide, I will tell you everything you need to know about how to macro in Fisch. I have tested all the features myself, so you will not miss a thing. I will explain how to install Fisch, set up your macros, adjust keybinds, and even save and load your recordings.

Note: If you have not downloaded the files yet, then get them from our official Fisch Macro download page.

How to Use Fisch Macro?

If you want to know how to macro in Fisch PC and Xbox, then you need to set up a few things on your PC and Roblox. You just have to follow these steps one by one. Start from your display settings, then install the required software, adjust Roblox settings, and finally set up Fisch. Once you are done, you can use your macro without any errors or bugs.

Note: You should remember that using the right rod makes a big difference in Fisch, so see the best rods for macro fishing to use the perfect one.
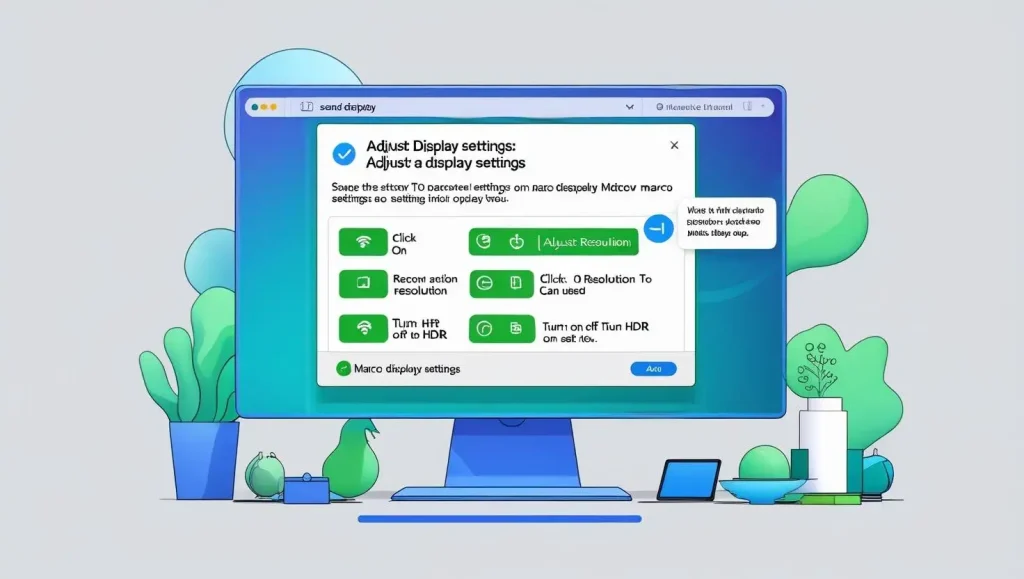
display settings

Step 1: Set Your Display Settings First

You need to adjust your computer’s display to make sure the clicks and movements happen in the right spots before using Fisch. 
I will tell you how you can do it:

Click the Windows Search bar or press Windows + S and type Display Settings.

Inside display settings:

  • Turn off HDR if it is on, then it can cause visual problems. If your screen does not support it, then it is already off.
  • Set the Resolution to the highest value your monitor supports. Usually, 1920×1080 works best.
  • Set the Scale to 100%. If it is set higher, then the macro may click in the wrong place.
  • Unplug any second monitor, as Fisch works best with only one screen.
  • Turn off any pop-ups or background overlays like Windows notifications. These can interrupt your macro. 

Step 2: Step 2: Install AutoHotkey (Both Versions)

Fisch needs AutoHotkey (AHK) to work. You will need to install two versions, one after the other.
Here is how to do it:
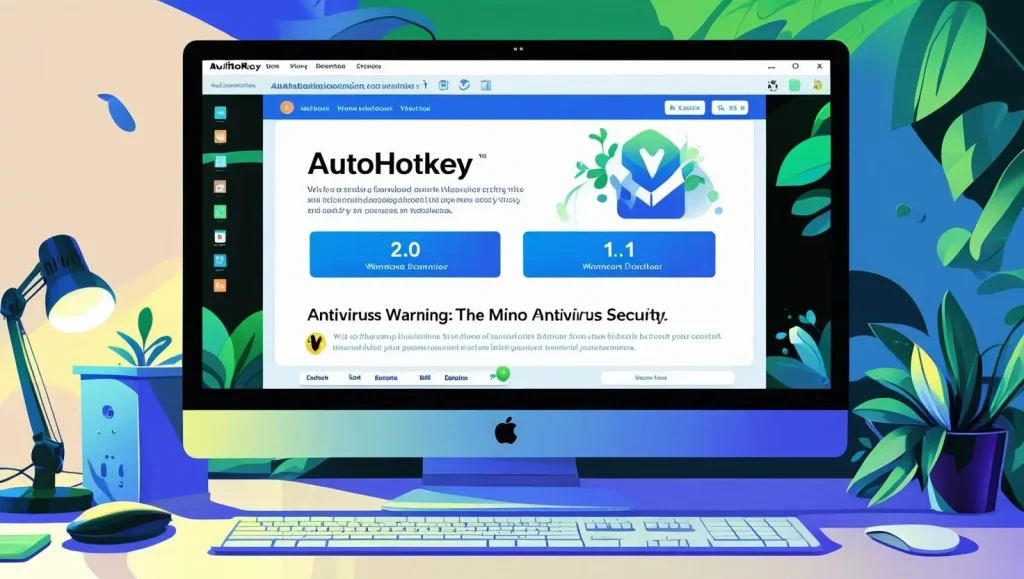
  • Go to autohotkey.com
  • First, download and install version 2.0.
  • During setup, make sure it installs in:
    C:\Program Files\AutoHotkey. This is the default path, so do not change it.
  • Now, download version 1.1 as it is marked as “deprecated,” but still needed.
  • While installing v1.1, select the option that says Install as an additional version.
  • If your antivirus blocks the setup, then pause or disable it for a few minutes to complete the installation.
Install Auto hot key
adjust game settings

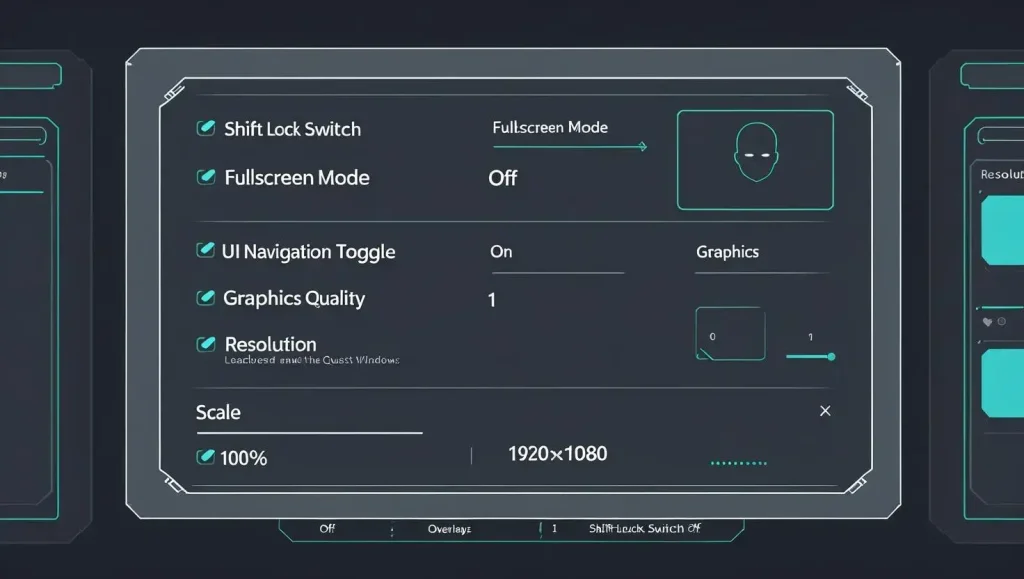
Step 3: Step 3: Adjust Roblox Game Settings

Fisch works with Roblox Player, not the browser version. So, first, make sure you are opening Roblox through the player app.
Now, follow these steps inside the game:

  • Go to Settings in Roblox.
  • Turn off Shift Lock Switch, as this prevents camera conflicts.
  • Turn off Fullscreen Mode, as Fisch works better in windowed mode.
  • Make sure UI Navigation Toggle is turned ON, as this helps Fisch to move through the game menus correctly.
  • Set Graphics Quality to 1, as this makes the game run faster and reduces lag.
  • Hide or turn off overlays like:
  • Chat
  • Leaderboard
  • Quest windows
  • Use a simple black avatar. It reduces distractions and increases performance.
  • Set the Resolution to the highest value your monitor supports. Usually, 1920×1080 works best.
  • Set the Scale to 100%. If it is set higher, then the macro may click in the wrong place.
  • Unplug any second monitor, as Fisch works best with only one screen.
  • Turn off any pop-ups or background overlays like Windows notifications. These can interrupt your macro. 

Step 4: Configure Fisch Macro Settings

Now, open the Fisch Macro tool. You will need to update a few options inside the software:
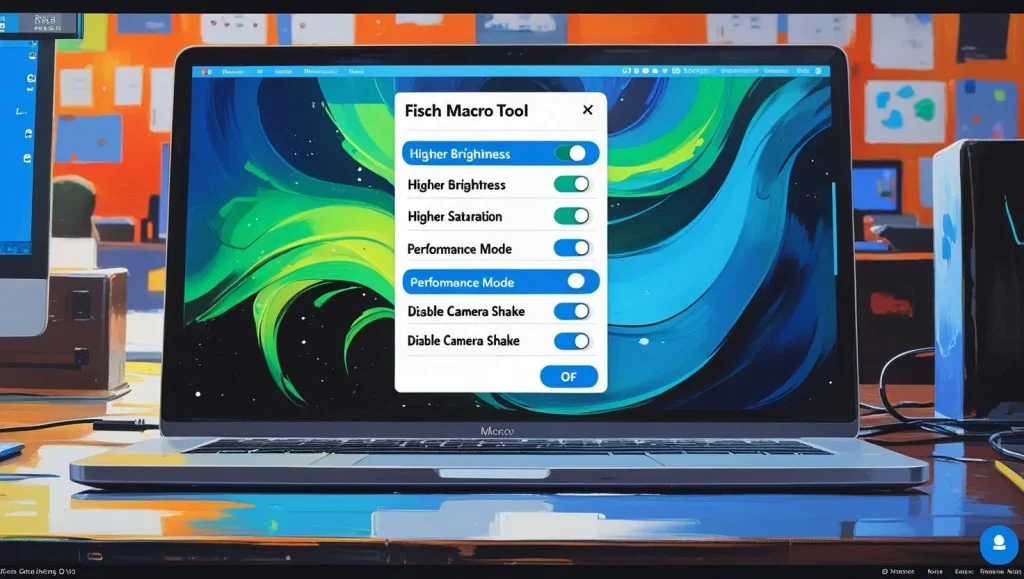
  • Go to the menu and turn off:
  • Higher Brightness
  • Higher Saturation
  • These effects are not needed and might slow things down.
  • Next, turn on Performance Mode. This helps Fisch to run smoother while using fewer system resources.
  • Scroll to Preferences and make sure you turn off Disable Camera Shake. Some macros require camera shake to be on for proper recording.
Configure Fisch Macro Settings
Fisch Macro Controls

Step 5: Use Fisch Macro Controls

I will tell you the main keys that you will use with Fisch:

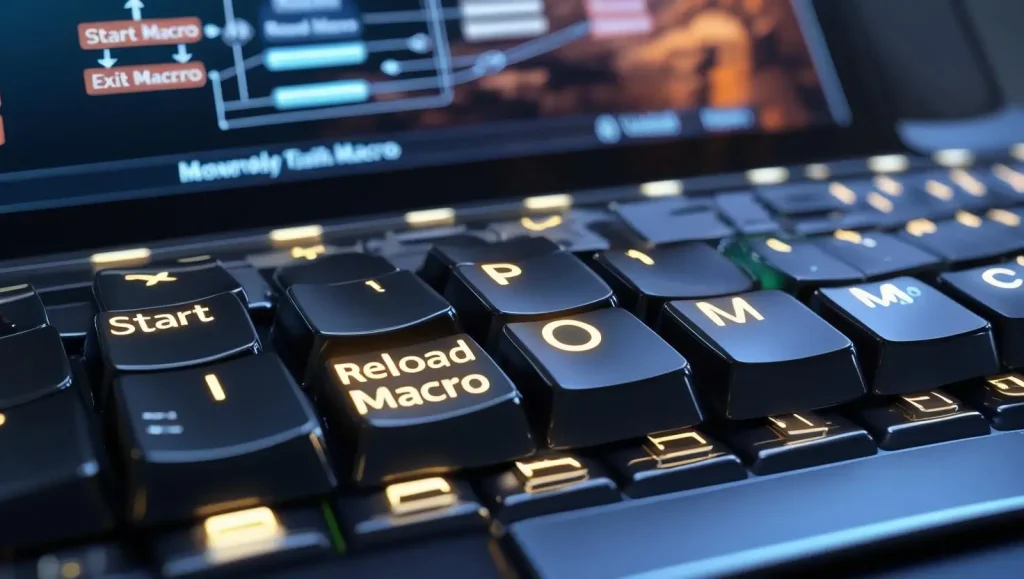
  • Press P → This starts the macro (the actions you have recorded).
  • Press O → This reloads the macro if you have made changes.
  • Press M → This exits the macro completely.

Make sure everything is set before you press P, and watch your macro run like magic.

How to Use Xan Macro v2.1 (New UI Guide)

Xan Macro has recently updated its interface, but do not worry, as it is still super easy to use. Just follow these steps, and you will have it up and running in no time. After downloading and launching Xan v2.1, you will notice that the tool has four tabs.

Let’s go through each one step-by-step so you know exactly what to do.

Xan Main Tab

This is where you start:
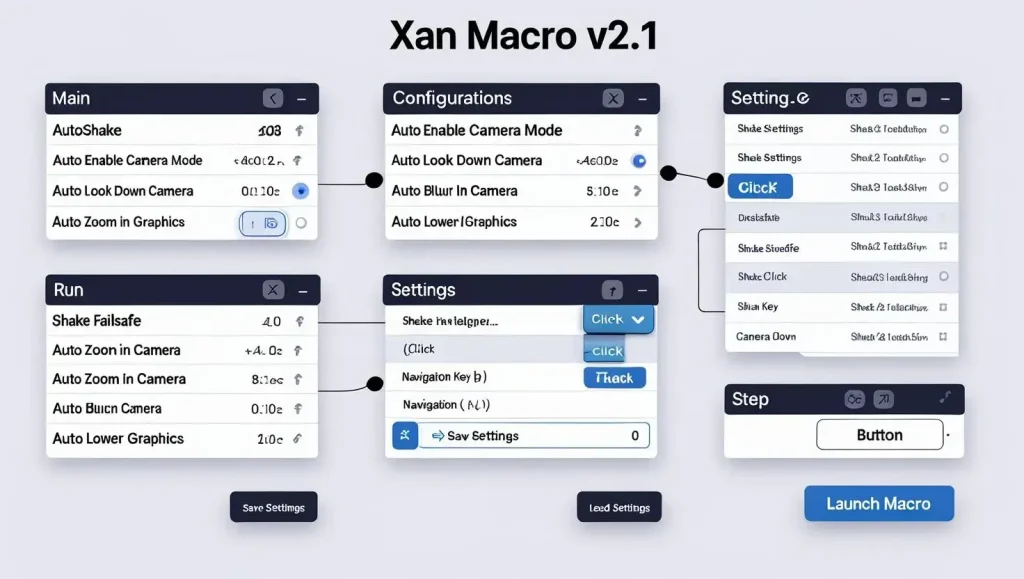
  • First, check the “Autoshake” option. This helps the macro to keep working even if something goes wrong.
  • In the “Shake Failsafe” box, type 20. This makes the macro retry shaking if it fails.
  • For the shake action, select “Click” from the dropdown.
  • Set the navigation key to \ (backslash key). This key helps to move the camera properly.
  • Now, check all these options to improve your macro’s performance:
  • Auto Enable Camera Mode
  • Auto Look Down Camera
  • Auto Blur Camera
  • Auto Zoom in Camera
  • Auto Lower Graphics
  • After setting everything, you should make sure to click “Save Settings” so nothing gets lost.
Xan macro

Configurations Tab

Good News: These settings are usually already applied by default. 

  • If you want to customize anything later, then you can tweak the configuration tab to match your personal setup.
  • But for most users, the default setup works just fine.

Run the Macro

Once everything above is ready:

  • Click “Load Settings” to apply all your saved changes.
  • Then hit “Launch Macro” and you are done!

Now your Xan Fisch Macro will run smoothly by using your updated settings

How to Use Fisch Macro v12 – Easy Setup Guide

The Fisch Macro v12 is the newest version, and it is packed with better features. It now has Webhook Support, an easy-to-use GUI (Graphical User Interface), and it can even use bait while fishing automatically

The best part? Your settings are automatically saved in a text file on your computer, and you can load them anytime with just one click.
general setting tab

Step 1: General Settings Tab

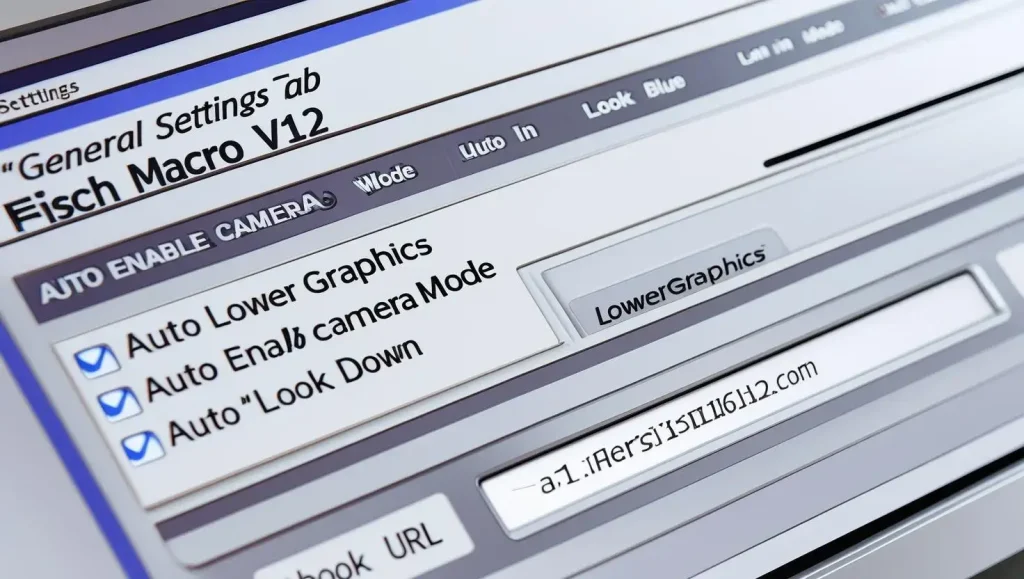
When you open Fisch Macro v12, the first tab you will see is General Settings

I will share here  what you need to do:

  • Turn on these options by checking the boxes:
  • Auto Lower Graphics – This makes the game smoother.
  • Auto Zoom In – Zooms in so the macro works better.
  • Auto Enable Camera Mode – Turns on the right camera mode.
  • Auto Look Down – Points your view down for better macro accuracy.
  • Auto Blur – It helps to reduce game distractions.
  • If you have a Webhook URL, paste it here.
  • If you do not know how to make one? No problem, just follow the tutorial.

Step 2: Shake Settings Tab

This is where you set how the macro will shake the fishing rod:
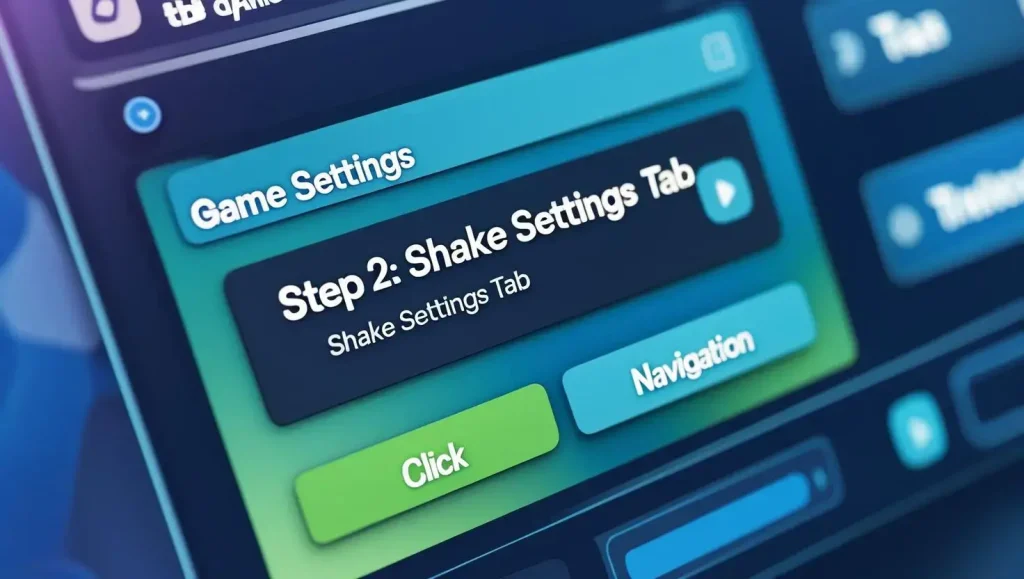
  • Choose either “Click” or “Navigation” depending on your game setup.
  • “Click” usually works best for most users.
Shake Setting
Minigame Settings Tab

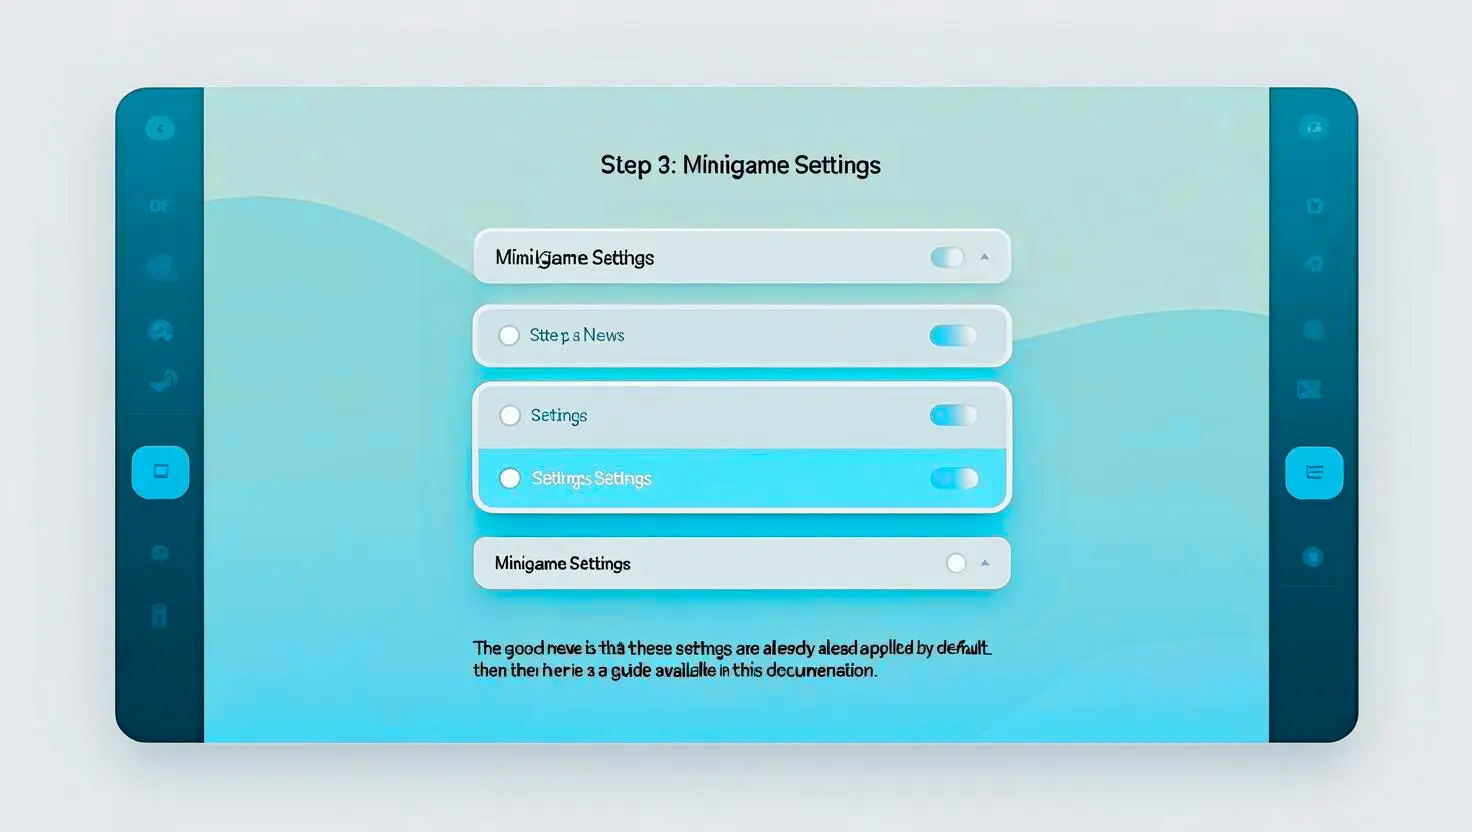
Step 3: Minigame Settings Tab

This part handles the minigame feature automatically:

  • The good news is that these settings are already applied by default.

If you want to change them, then there is a guide available in this documentation.

Step 4: Save & Start

Now that you have adjusted everything:

  1. Click “Save Settings” to lock in your changes.
  2. Hit “Load Settings” to apply them.
  3. Finally, click “Start Macro,” and you are all set.

If something does not work right, then do not panic. Just exit the macro, restart it, and go through the steps again carefully.

Bonus Tip: Import Saved Settings in One Click
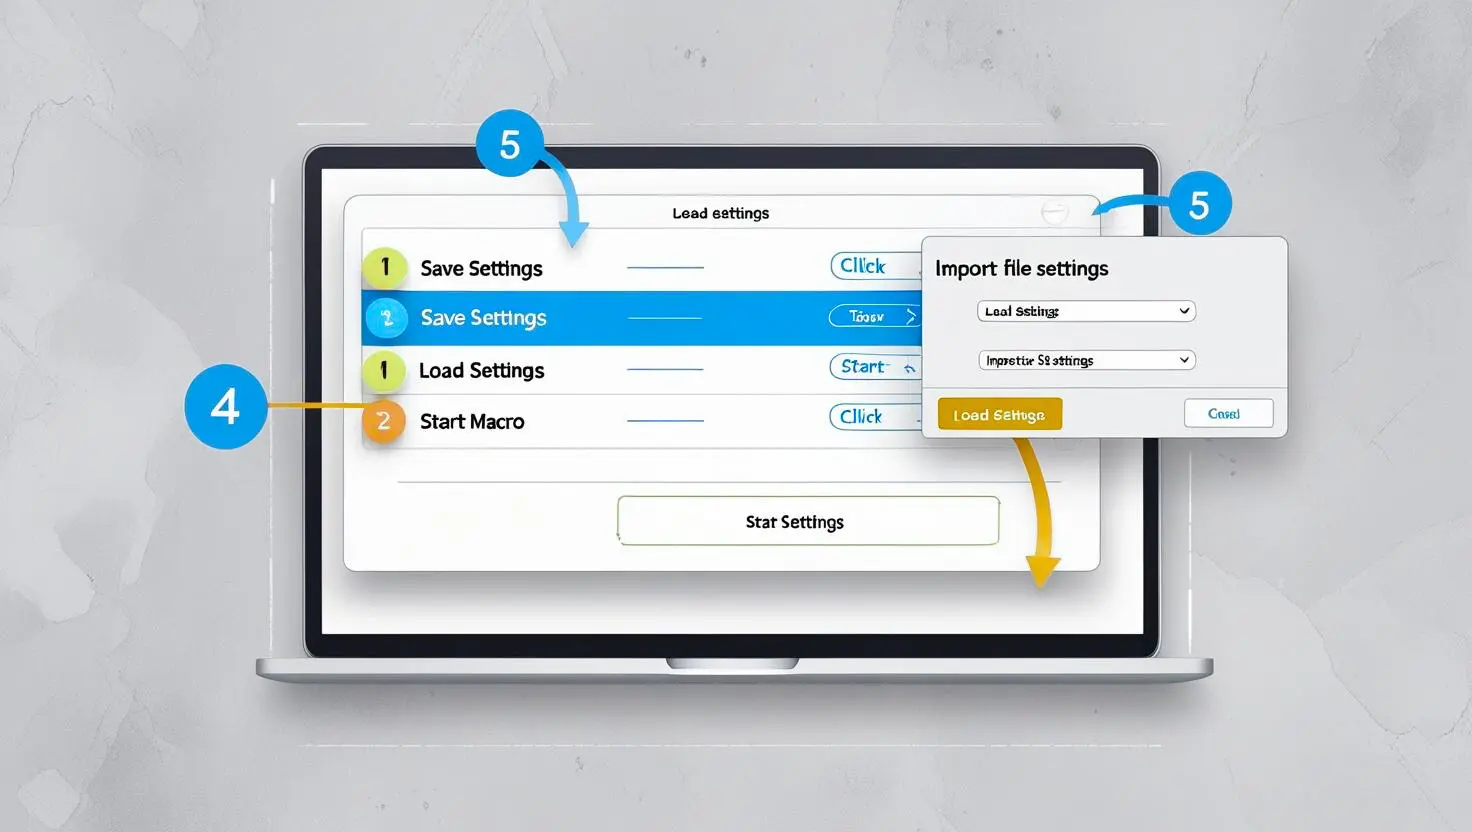
  • Have you saved a configuration before?
  • Just select the file name and click “Load Settings.”
  • Your macro will now run with all your previous settings. It is super quick and easy.
Save & Start

How to Macro in Fisch Mobile?

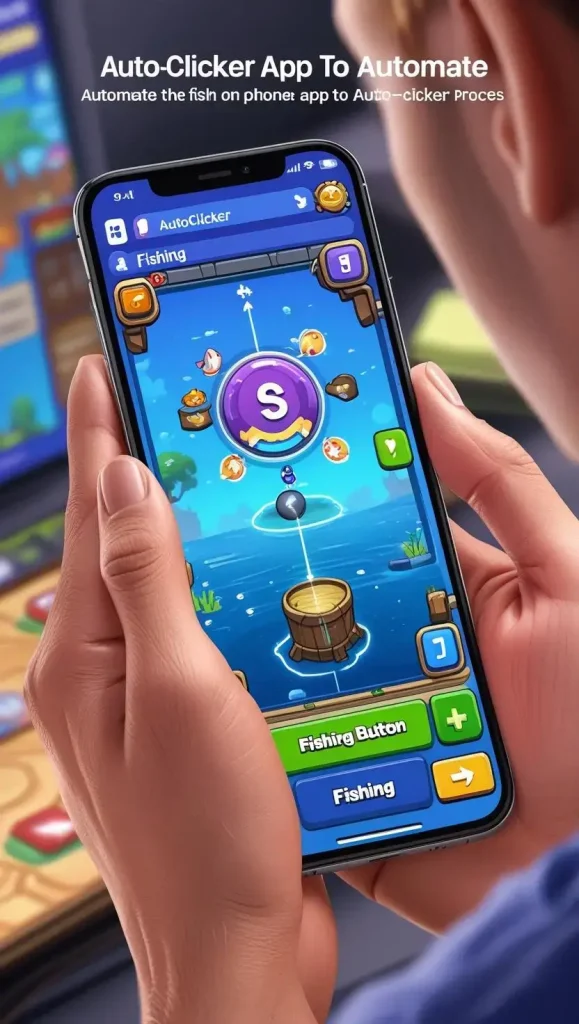
Using a macro on mobile is a little different from PC, but it is still easy if you follow each step the right way. On mobile, you will need to use an auto-clicker app because Fisch Macro software is made mainly for PC. I will tell you how you can do it the smart way:

Step 1: Download an Auto Clicker App

  • Go to your Google Play Store or App Store.
  • Search for “Auto Clicker – Automatic Tap.”
  • Download and install it on your phone.

Step 2: Set Up the Auto Clicker

  • Open the app and give it permission to draw over other apps.
  • Tap on “Multi Targets Mode” as this lets you set more than one tap point.
  • Now, open Roblox and go to the fishing area in the game.
Mobile fisch macro

Step 3: Add Tap Points

  • Tap the floating auto-clicker button to add tap spots:
  • One tap where the fishing button is.
  • Another tap where the minigame appears.
  • Set the time interval between taps to around 200 – 400 milliseconds. You can test what works best for you.

Step 4: Start Fishing Automatically

  • Once your tap points are placed, then click “Start” on the auto-clicker.
  • Your mobile will now automatically cast and catch fish while you relax.

Personal Thoughts

If you are just starting with Fisch Macro, then my best suggestion is to take it slow and follow each step one by one. Do not rush the setup because most problems happen when you miss a small setting. Make sure your display, Roblox, and macro settings are all done exactly right. Also, keep your antivirus turned off only during installation, then turn it back on to stay safe. Once you get it running, it is super satisfying to watch the macro do all the fishing for you.

FAQs

You can not directly use the Fisch macro on a PS5. Macros like Fisch are built for PC and need files and tools that the PS5 does not support. If you really want to use macros, then try to connect your PS5 to a PC with remote play, but it is tricky. It is best to use on a computer.

Fisch Macro does not officially support MacBooks because AutoHotKey and other tools are for Windows. You can try using Windows on your Mac with BootCamp or a virtual machine. But it is harder and may not work well. Using a Windows PC is the easier way.

The macro in Fisch helps you to fish automatically in Roblox games. It saves time by doing all the clicking and shaking for you. You do not have to control it, just set it up and let it work. It is perfect for leveling up without stress.

To macro on PC, install AutoHotKey and Fisch Macro, and fix your display and Roblox settings. Then run the macro and press the hotkeys to start. If you follow the setup steps properly, it works smoothly. Always use the Roblox Player, not the browser.

Sadly, Xbox does not support Fisch macros. There is no way to install the files or run AutoHotKey on a console. Macros like Fisch are made for PC use only. If you want to macro, then a computer is your best option.

Fisch macros do not work on consoles like Xbox or PS5 directly. Consoles can not run the scripts or install the files needed. Macros are designed to work with PC tools.